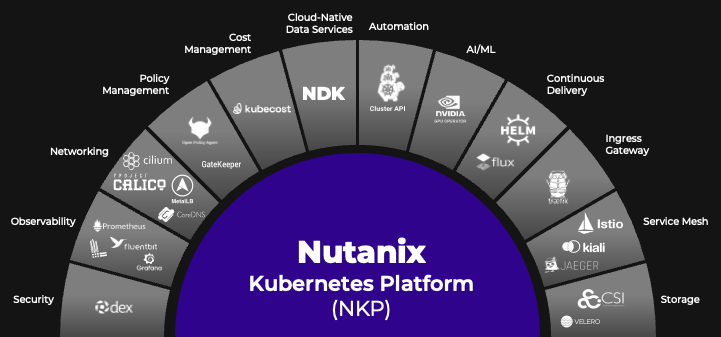
Information about Nutanix Kubernetes Platform (Part 8 of many)
This post is about protection of your NKP cluster and workloads.It might not be necessaary to emphasize the importance of protecting your cluster (configuration) and your workloads if persistent data is present for your containerized application.
Using Velero for Backup and Recovery
As mentioned in a previous post, Velero can be enabled as a platform application to make data protection possible. Velero is an open source tool used to back up and recover your Kubernetes clusters. It helps migrate clusters and persistent volumes and works in both on-premises and public cloud environments. Velero allows you to back up and restore an applications’ persistent data alongside their configurations, using either the storage platform’s native snapshot capability or an integrated file-level backup tool called restic.
For default installations, NKP deploys Velero integrated with Rook Ceph, operating inside the same cluster.
Velero consists of a server and a command-line interface (CLI) with which you can configure scheduled backups, trigger ad-hoc backups, perform restores, and so on. It uses the Kubernetes API to capture the state of cluster resources and restore them when needed. Key benefits of using velero are:
- Backups can capture subsets of the cluster’s resources such as namespace, resource types, and/or label selector, and so on.
- Direct backups and restores are subject to appropriate access to the underlying etcd database.
- Resources exposed through aggregated API servers can easily be backed up and restored even if they are stored in a separate etcd database.
For production use cases, it is recommended to provide an external storage class to use with Rook Ceph. Ceph itself is highly configurable and can support Replication or Erasure Coding to ensure data durability. NKP is configured to use Erasure Coding for maximum efficiency.
The default configuration creates a CephCluster that creates 4 x PersistentVolumeClaims of 40G each, resulting in 160G of raw storage. Erasure coding ensures durability with k=3 data bits and m=1 parity bits. This gives a storage efficiency of 75% (refer to the primer above for calculation), which means 120G of disk space is available for consumption by services like grafana-loki, project-grafana-loki, and velero.
See for more information, the Rook Ceph section in the NKPGuide.
More about Rook Ceph!
NKP ships with a Rook Ceph cluster that is used as the primary blob storage for various NKP components in the logging stack, backups, and NKP Insights.
Rook turns distributed storage systems into self-managing, self-scaling, self-healing storage services. It automates the tasks of a storage administrator that includes deployment, bootstrapping, configuration, provisioning, scaling, upgrading, migration, disaster recovery, monitoring, and resource management.
Rook orchestrates the Ceph storage solution, with a specialized Kubernetes Operator to automate management. Rook ensures that Ceph will run well on Kubernetes and simplifies the deployment and management experience.
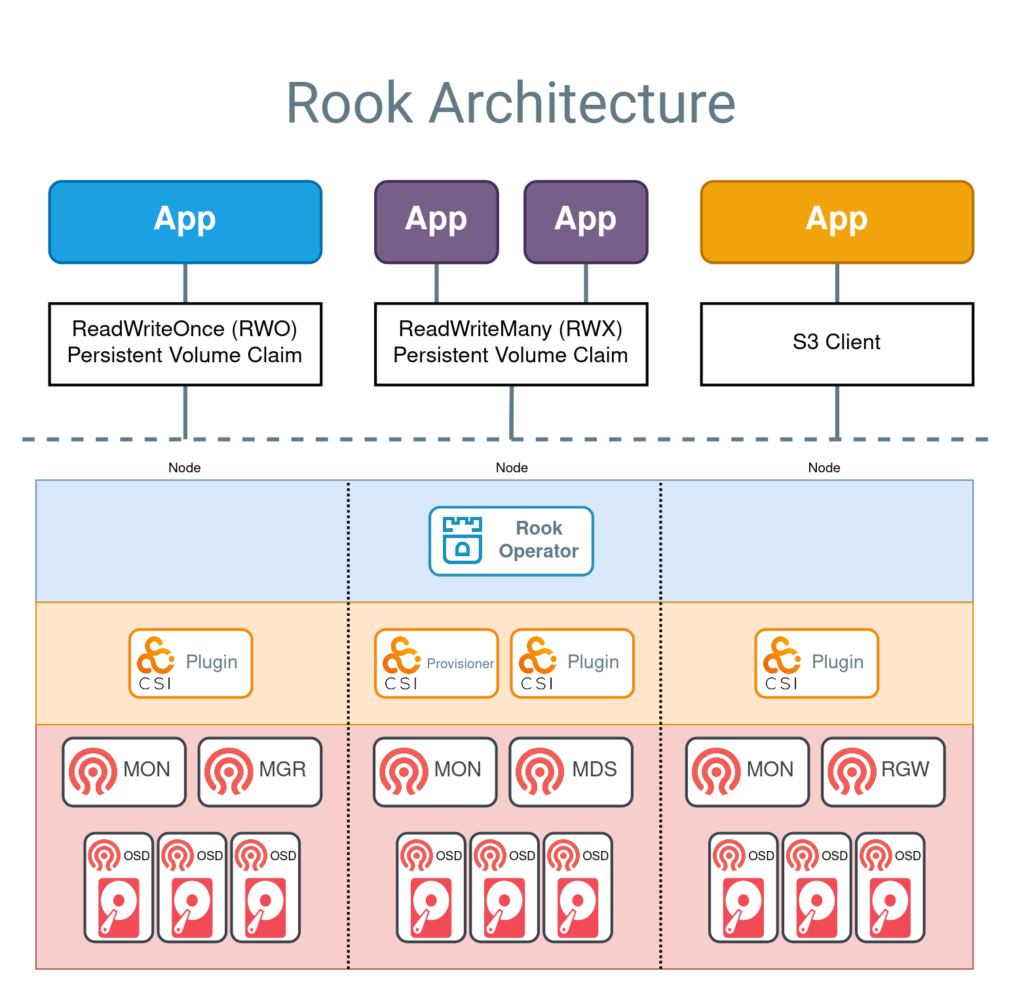
Rook enables Ceph storage to run on Kubernetes using Kubernetes primitives. With Ceph running in the Kubernetes cluster, Kubernetes applications can mount block devices and filesystems managed by Rook, or can use the S3/Swift API for object storage. The Rook operator automates configuration of storage components and monitors the cluster to ensure the storage remains available and healthy.
The Rook operator is a simple container that has all that is needed to bootstrap and monitor the storage cluster. The operator will start and monitor Ceph monitor pods, the Ceph OSD daemons to provide RADOS storage, as well as start and manage other Ceph daemons. The operator manages CRDs for pools, object stores (S3/Swift), and filesystems by initializing the pods and other resources necessary to run the services.
The operator will monitor the storage daemons to ensure the cluster is healthy. Ceph mons will be started or failed over when necessary, and other adjustments are made as the cluster grows or shrinks. The operator will also watch for desired state changes specified in the Ceph custom resources (CRs) and apply the changes.
Rook automatically configures the Ceph-CSI driver to mount the storage to your pods. The rook/ceph image includes all necessary tools to manage the cluster. Rook is not in the Ceph data path. Many of the Ceph concepts like placement groups and crush maps are hidden so you don’t have to worry about them. Instead, Rook creates a simplified user experience for admins that is in terms of physical resources, pools, volumes, filesystems, and buckets. Advanced configuration can be applied when needed with the Ceph tools.
Checking Velero status
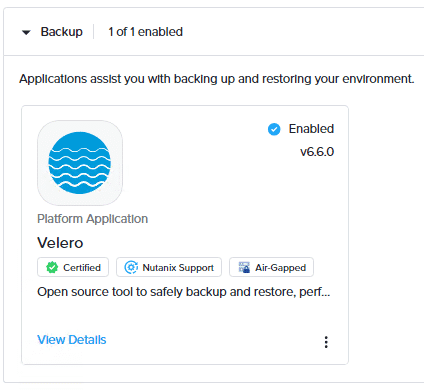
You can check the status of the Velero service running on a workspace through the NKP dashboard.
To do this, in the workspace dashboard, select Applications from the left pane. On the Applications page, select Enabled to display all the applications that have been enabled in the workspace. Then, select the Backup category and view the Velero application.
Alternatively, you can run the following kubectl command to check the status of the Velero service.
kubectl get all -A | grep velero
How to install the Velero CLI?
The Velero CLI is used to interact with the Velero server. Installing the Velero CLI is optional and independent of deploying the NKP cluster. Having access to it provides several benefits, for example, you can restore a cluster on-demand or modify certain settings without changing the Velero configuration.
Note that the default storage setup is not suitable for production use cases. When Velero is installed, by default, it uses Rook Ceph as storage. Rook Ceph uses local drives for storage which means that backups are being saved on the local drives of the same cluster that is being backed up. So, if the cluster goes down the backup will be lost and restoration will not be possible if you are using the default storage setup. As a result, in a production environment, it is recommended to create and use external storage for your backups.
Before we start, we need the Velero server version. To get it, we will use the following command:
kubectl get deployment velero -n training -o jsonpath='{.spec.template.spec.containers[0].image}{“\n”}’ –kubeconfig $UI_CLUSTER_NAME.conf


Now that we have the version of the Velero server, we will change the working directory to the home directory of the nutanix user using the cd~ command.
Then, we will download the Velero CLI using the command below:
wget https://github.com/vmware-tanzu/velero/releases/download/v1.13.2/velero-v1.13.2-linux-amd64.tar.gz
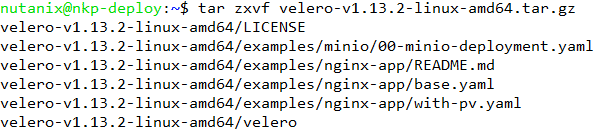
After the Velero CLI has been downloaded, extract the tar file using the following command:
tar zxvf velero-v1.13.2-linux-amd64.tar.gz

After the extraction is complete, copy the Velero binary to /usr/local/bin directory using the command below and enter the nutanix user password.
sudo cp velero-v1.13.2-linux-amd64/velero /usr/local/bin
Before you can use the Velero CLI to create a backup schedule or make an on-demand backup, you have to prepare the environment.
- Specify the workspace namespace of the cluster for which you want to configure the backup.
export WORKSPACE_NAMESPACE=<workspace_namespace> - Specify the cluster for which you want to create the backup.
export CLUSTER_NAME=<target_cluster_name>
Default setting for Velero and NKP is to create daily backups and save the data for all namespaces. With the Velero CLI it is quite easy to create alternate backup schedules. The example below creates a backup four time a day. You can notice that there will be no volume snapshots, as NKP default backups do not support the creation of Volume Snapshots.
velero create schedule -n ${WORKSPACE_NAMESPACE} \
--kubeconfig=${CLUSTER_NAME}.conf \
--snapshot-volumes=false \
--schedule="@every 6h"
For creating a backup on-demand, use the following syntax.
velero backup create <backup-name> -n ${WORKSPACE_NAMESPACE} \
--kubeconfig=${CLUSTER_NAME}.conf \
--snapshot-volumes=false
Backup and restore a specific project
If you have a important project running in an namespace, like a collection of chess games called mychessgamescollection, you can create a backup of this namespace using the following command.
velero -n $WORKSPACE_NAMESPACE --kubeconfig my_nkp_cluster.conf backup create mychessgamescollection --include-namespaces mychessgamescollectionYou can view backup details with the following command.
velero -n $WORKSPACE_NAMESPACE --kubeconfig my_nkp_cluster.conf backup describe mychessgamescollection | moreIf your project is deleted you can restore it with the following command. The second command will give you the progress of the recovery job.
velero -n $WORKSPACE_NAMESPACE --kubeconfig my_nkp_cluster.conf restore create mychessgamescollection --from-backup mychessgamescollection
watch velero -n $WORKSPACE_NAMESPACE --kubeconfig my_nkp_cluster.conf restore get
Monitoring your backup
You can generate diagnostic information about Velero backup and restore operations. For example, you can run the following commands to retrieve backup and restore information that you can use to assess the overall health of Velero in your cluster.
velero get schedules
velero get backups
velero get restores
velero get backup-locations
velero get snapshot-locations
Leave a Reply