
In an earlier post, I described and showed how to deploy Nutanix Files within a Prism Central instance. This post ended with a promise to add a new post about some post-deployment steps. In this post Nutanix Files is configured so it can be used for serving SMB shares. And a first share is created.
At the end of the previous post, the last information was that the fileserver was successfully deployed. Today we will continue from here.
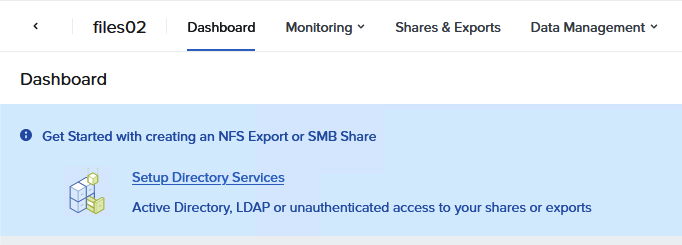
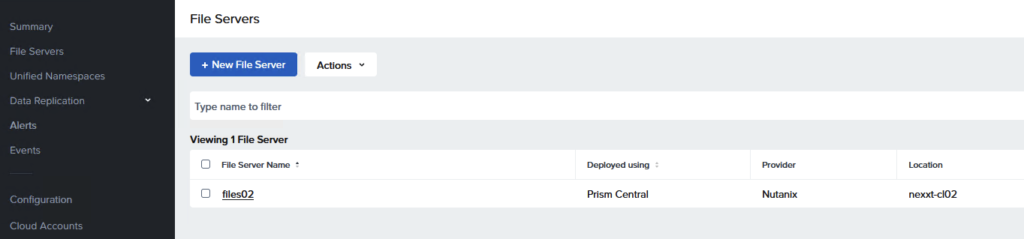
If you click on the File Server in the File Server Manager, you immediately get a warning that the Directory Services need to be configured. Basically, this is a wizard to configure SMB authentication using Active Directory, configure NFS authentication or both. All depends of course on the purpose of your installation.
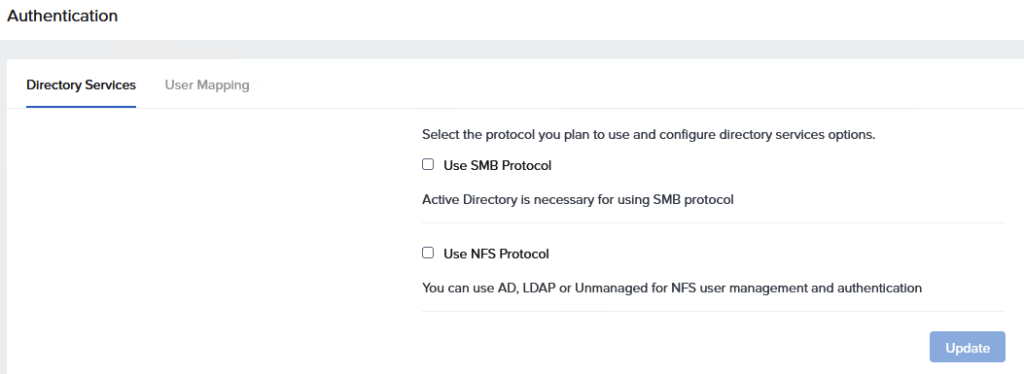
When you click on ‘Setup Directory Services‘, the screen to the left appears. You can choose here to configure the SMB protocol as well as the NFS Protocol. You can configure both, but you are not required to do so.
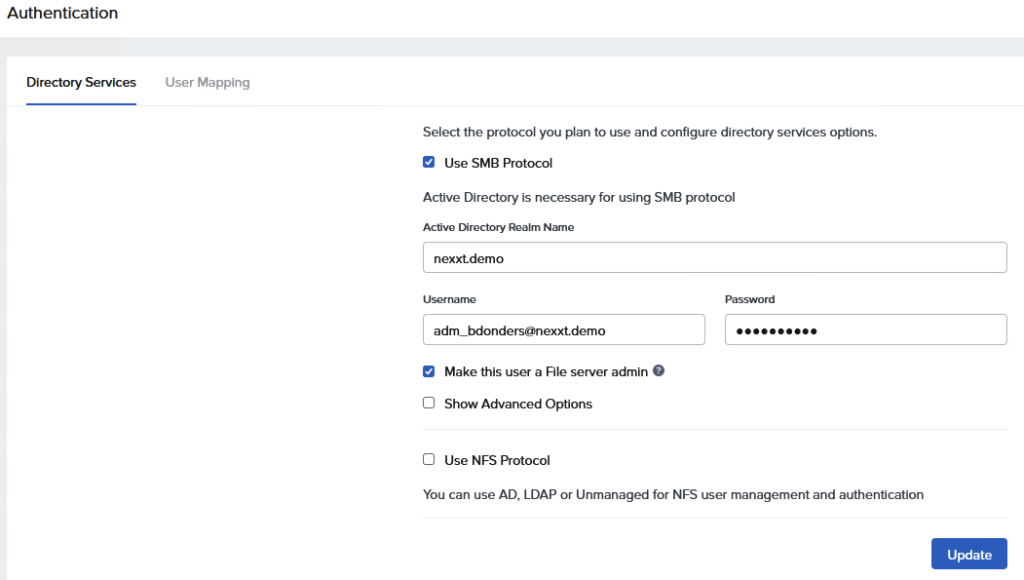
In this example, I chose to configure the SMB protocol. The Files Server is added to the Active Directory ‘nexxt.demo’. You will find a computer account in this Active Directory if you take a look.
You just need an administrative account in the AD with permissions to register machines. The account details in this configuration step are not saved anywhere.
I always choose to make this account an File Server admin, so I am able to manage this file server with this account.

After clicking ‘Update’ a few tasks are appearing in the Task pane of the Fileserver.
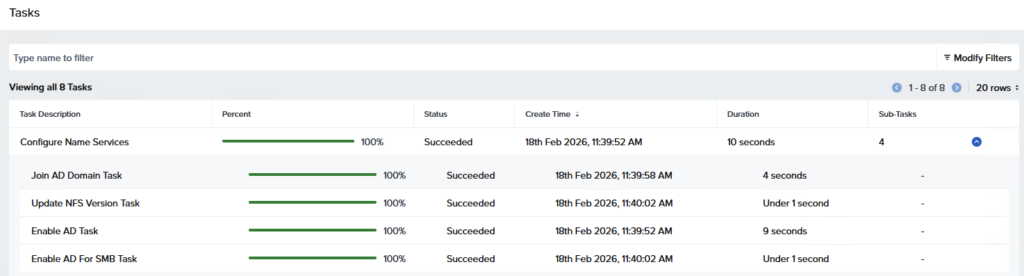
It takes about 10 seconds to make the config changes.
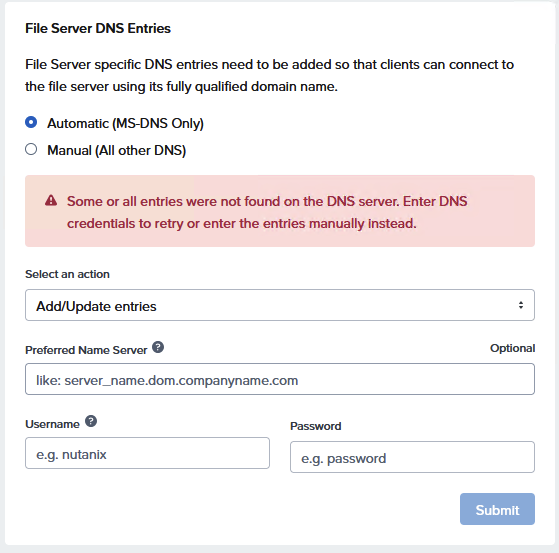
The DNS entries are added to DNS. Sometimes, especially when DNS is not configured correctly, the entries are not created successfully.
You are able to try this again with the Option ‘Update DNS entries.’
It is very important that all DNS entries are added to the DNS for an optimal performance of the File Server.
When the file server is added to the domain, and the DNS is setup correctly, it is finally time to create our first share.
Creating a share is not really difficult. It is a straightforward process, which I will discuss along with the following screenshots.
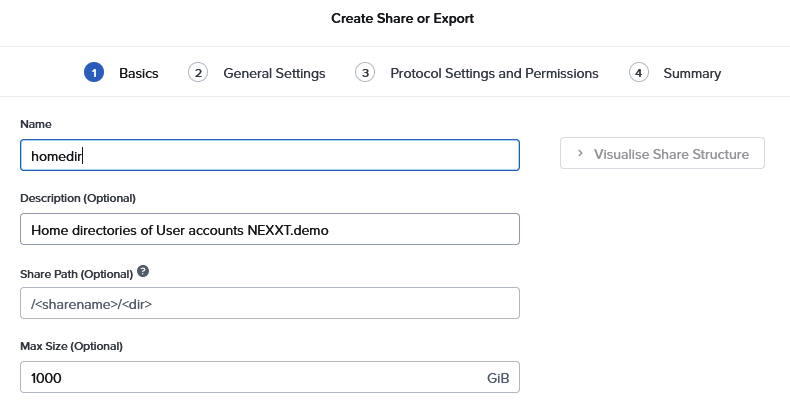
The basics are really basic. Just give the share a name and optionally a description.
Share path and size are also optional. If you really want to limit the size, you can give a value here. Otherwise, the share is eligible to consume all storage for the File Server.
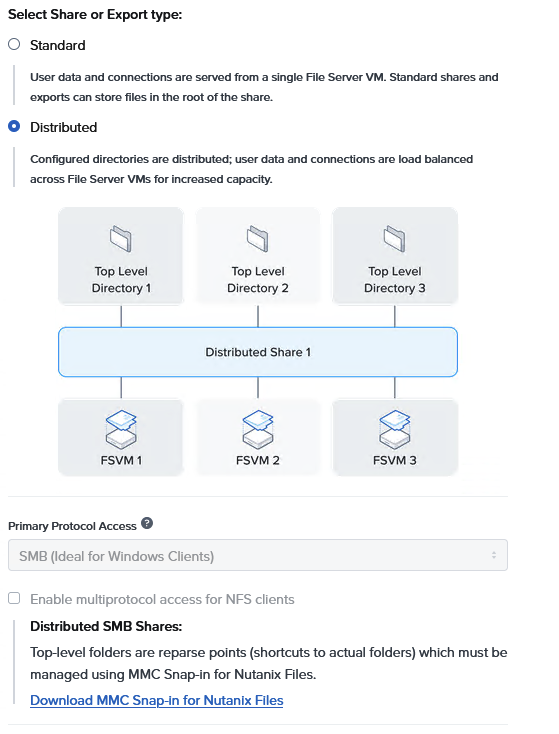
When a share is created, you have to choose the kind of share you want. Nutanix offers shares in two flavours. We have a standard share, and a distributed share.
A Distributed share, also known as a home share, load-balances user data across multiple FSVMs by distributing top-level directories (TLDs).
A Standard share, also known as a general-purpose share, serves data and connections from a single FSVM.
A distributed share is frequently used as the repository for the personal files of a user, while a standard share is frequently the repository shared by a group.
If you plan to protect your data using 3rd party backup tools, pleasea check the documentation. Not every solution is completely compatible with distributed shares, as the data is handled by muyltiple FSVMs.
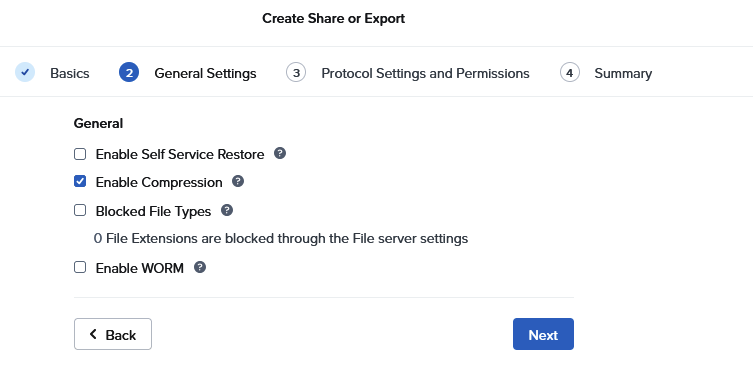
When the basics are set, some general settings on the share can be set.
Self Service Restore is a nice one. Snapshots will be created on a schedule, and your enduser is capable of restore files on his own by leveraging Previous Versions in Windows.
Enabling file system compression reduces the input and output (I/O) load, iSCSI traffic, space usage, and the amount of data on a share. I always enables this one.
You can also enable WORM on a share. When enabling WORM you have to specify a Cool Off Interval and a Retention Period. WORM cannot be disabled after the share is created.

Access Based Enumeration is helpful to hide folders for users. Users only see the folders they are allowed to see.
To let users create file names up to 1,023 bytes (255 characters) long, select the checkbox ‘Allow Long Names for Files and Folders‘
Continuous Availability is a nice feature. Persistent file handles facilitate continuous availability (CA) for SMB shares.
During a disruption of service, SMB shares remain continuously available by using persistent file handles and high-availability. Persistent file handles reduce the period of data unavailability by automatically reconnecting users to the file service in use before the disruption.
Files stores open lock information on persistent volume groups, available on every FSVM in the cluster. During a fail-over, the fail-over FSVM can access the volume group. Persistent file handles let clients wait to reconnect without notifying you about the connection failure. As a result, disruptions are seamless to you and applications.
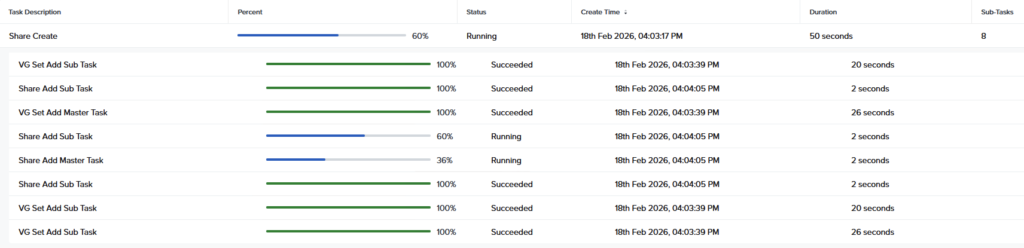
I will skip the summary page. When creating the share several tasks are created by the process. Volume Groups are created and a master is set for the share. This master is responsible for redirecting requets for distributed shares.

After a short wait, the share is finally created.
So, now we have Nutanix Files up-and-running. What about Data Protection and continuity. This will be the topic in the next blog in this series.
Leave a Reply