Part 1: Deployment of Hycu Backup Controller
In the early days of Nutanix AHV, Hycu came on the market as a product especially designed for the new hypervisor of Nutanix. Back then, this was a niche market, and the product evolved into a more complete solution. It now covers the (almost) complete set of hypervisors and hyperscalers. Right now, Hycu is exploring the SaaS market and offers data protection for numerous SaaS services. I will cover that in a future post.
For this post let’s focus on the deployment and initial configuration of Hycu. If you have read some of my other blog post, it should be no surprise that I will deploy Hycu on a Nutanix AHV cluster. That same cluster will be added as a source (and a target) to the Hycu instance. From there on, more functionality will be added in the future.
So first, let’s focus on the deployment of a Hycu backup controller in an environment. As mentioned before, the appliance will be installed in a Nutanix infrastructure.
If you want to try Hycu by yourself after reading this post, just go to https://www.hycu.com/solutions/data-protection/nutanix.
Deployment of Hycu Controller
The first step for deployment on an AHV cluster is to download the qcow disk image from the Hycu site. Just check the link provided before. After downloading, the disk has to be added as an image in Prism Central or Prism Element. From there on, you are able to create a VM. In this post, deployment is done using the Prism Central UI.
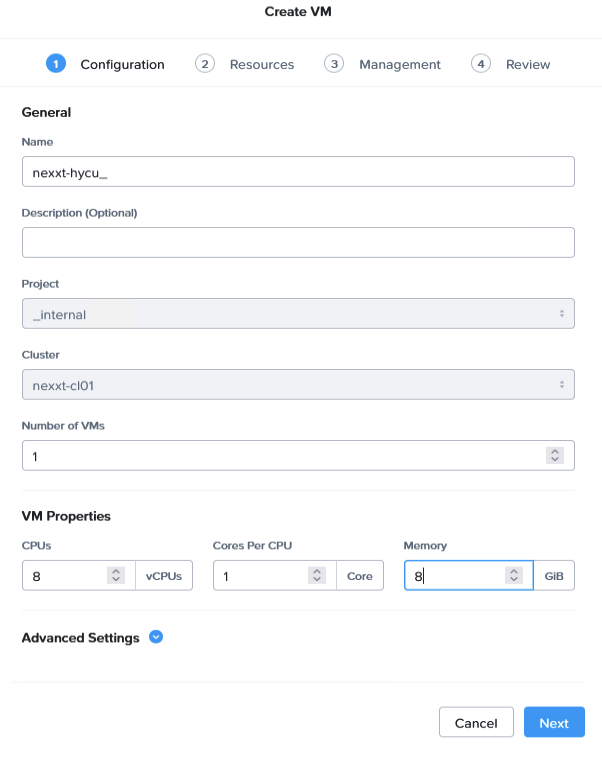
In the Prism Central VM page, just click ‘Create VM’ and the screen on the left appears.
Just give the VM a name and select the correct amount of CPU and memory for your appliance.
The smallest one, according to the documentation, has 8 vCPU and 8 GB of RAM.
This must be sufficient to protect about 50 VMs. Big enough for my demo environment.
Just click ‘Next’ to continue.
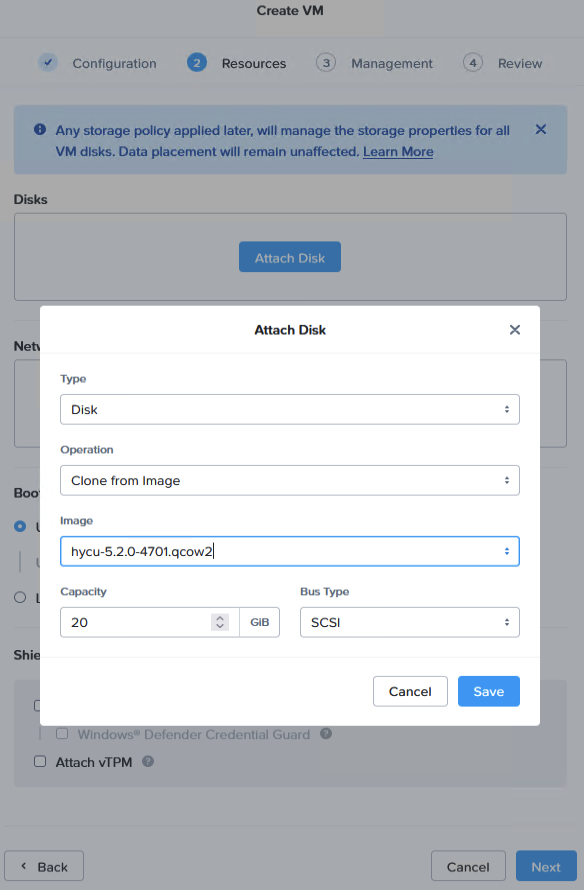
On the resources page, you will have to attach a disl.
The first disk you create will be cloned from the image which was created from the download of the Hycu website.
The capacity of the disk is filled in for you, and there is no reason to change that.
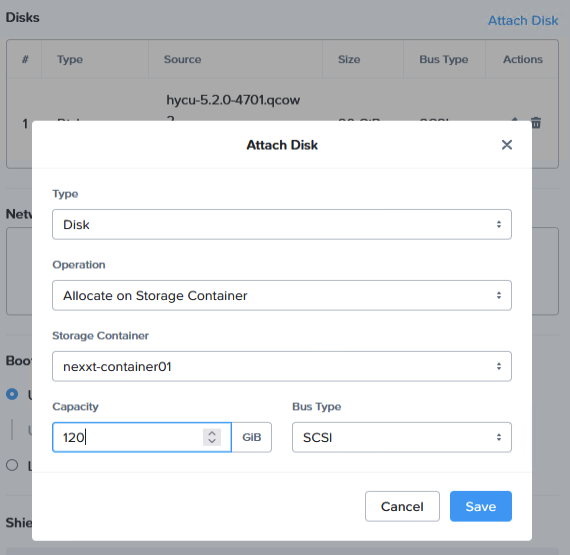
A second disk has to be added to the VM.
This disk is used as the data disk for Hycu and according to the documentation, the size has to be 128GB. This size is the same for environments up to 500 virtual machines.
(So I hope, my virtual machine will function with just 120GB of storage.)
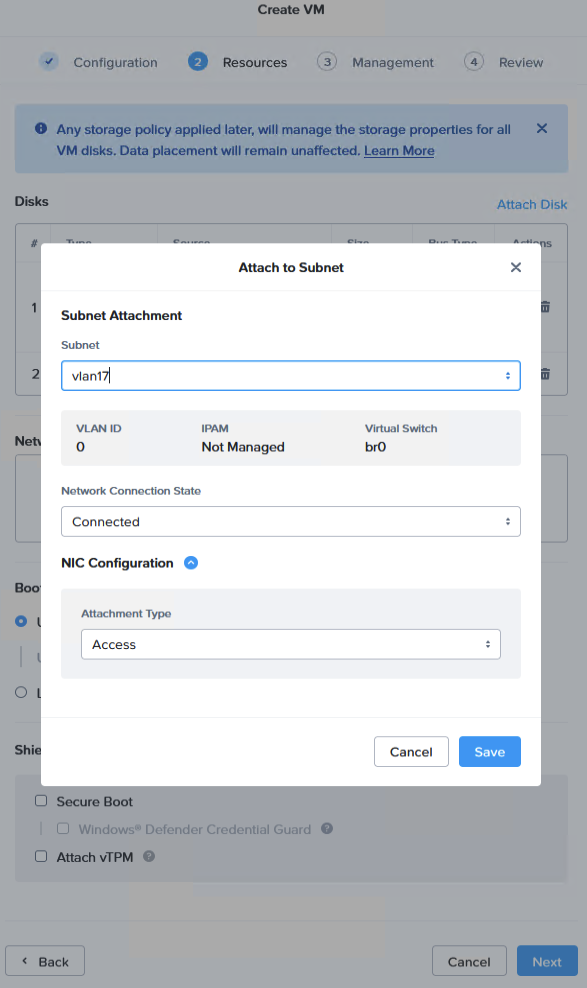
When the disks are added, we also need to add a network.
Just select the subnet, you want to use for the backup controller.
Keep in mind, that certain ports need to be opened in the firewall config.
Of course, in case of Nutanix, port 9440 has to opened for communication between the backup controller and the Nutanix cluster / Prism Central.
For other ports, please check the documentation of Hycu.
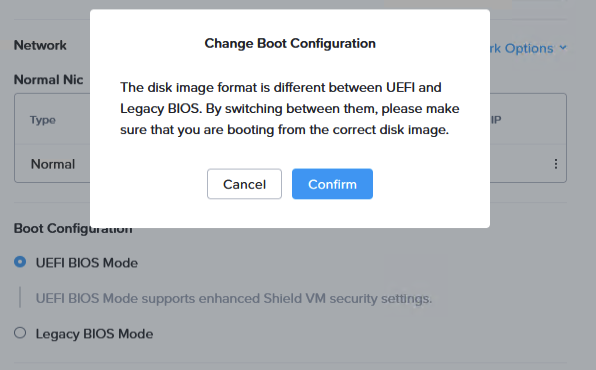
After selecting the NIC, please do not forget to change the Boot configuration to Legacy BIOS mode.
At this moment, UEFI boot is not supported (and working) for the Hycu appliance.
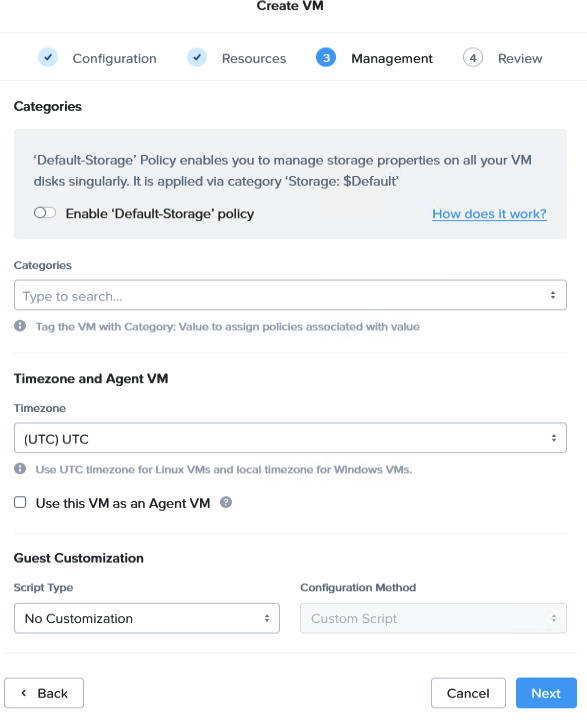
The Management tab is one to leave default. Please check if the timezone is set to UTC.
Clicking ‘Next’ will bring us to the Review page. A quick check to confirm that all settings are correct, and the VM can be created.
Once the VM is created, just power on the virtual machine, and when possible, launch the console for the vm.
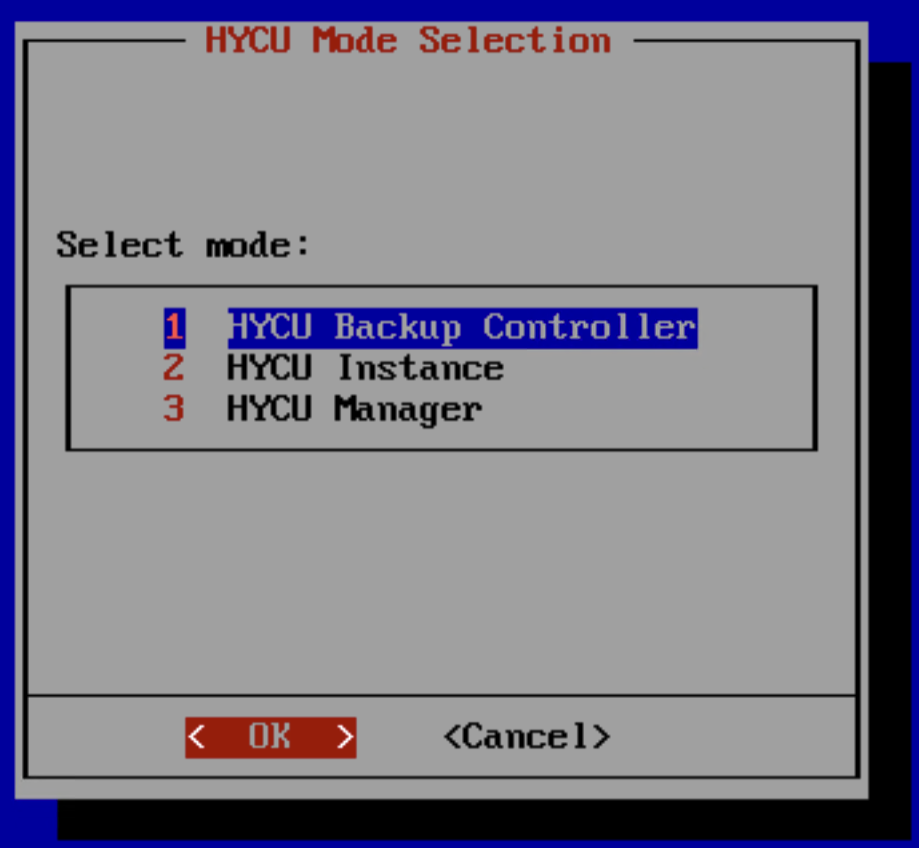
When the virtual machine boots for the first time, will after some time, the window to the left appears. We select the first option to install a back-up controller.
(An Hycu instance enables you to protect file shares and buckets. It also speeds up data protection operations on vSphere virtual machines.)
(An Hycu Manager is used to manage multiple Hycu Controllers.)
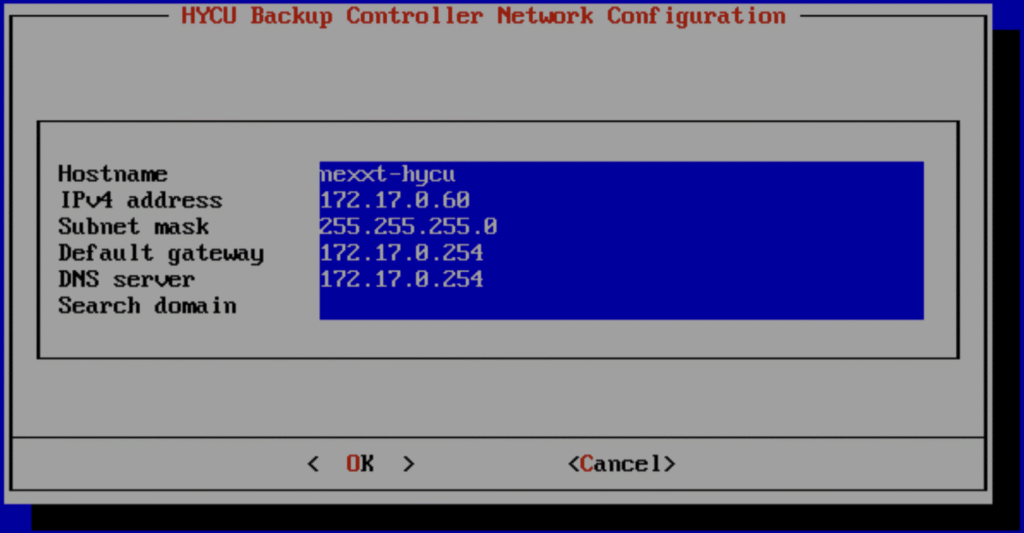
After clicking OK, you have to fill in some networking details in the next window. Just add a hostname, IP address, subnet mask and gateway for communication.
Also add an DNS server, so Hycu addresses and local addresses are resolved when adding source and target systems.
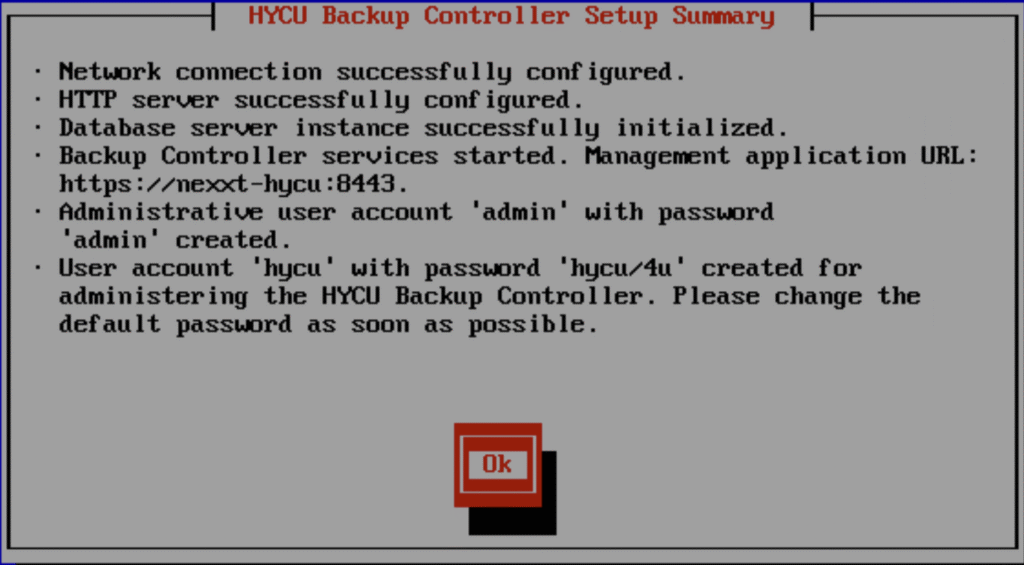
When the configuration is submitted, the setup will proceed, and after a short wait, the Setup summary is shown.
Initialization and configuration have been taken care of.
As a service the default accounts are on the screen. So next step, is to go to the management url, and log on.
The basic configuration using the UI should be done next.
So, the deployment of a Hycu controller is not difficult. When the qcow is available as a Nutanix image on the cluster, it should take about 15-20 minutes to have the controller up and running.
In part 2 of this series, we will have a look at the initial (basic) configuration tasks within Hycu. Stay tuned.
Leave a Reply