Real-World HCI Testing with Nutanix X-Ray 7.0
Most infrastructure benchmarks lie to you — not deliberately, but by design. They measure peak IOPS under perfect conditions, hand you a big number, and let you assume your environment will behave the same way once it’s full of real workloads, mid-upgrade, or recovering from a failed node. It almost never does. That gap between the benchmark and the bad Tuesday afternoon is exactly what Nutanix X-Ray was built to close.
Nutanix X-Ray
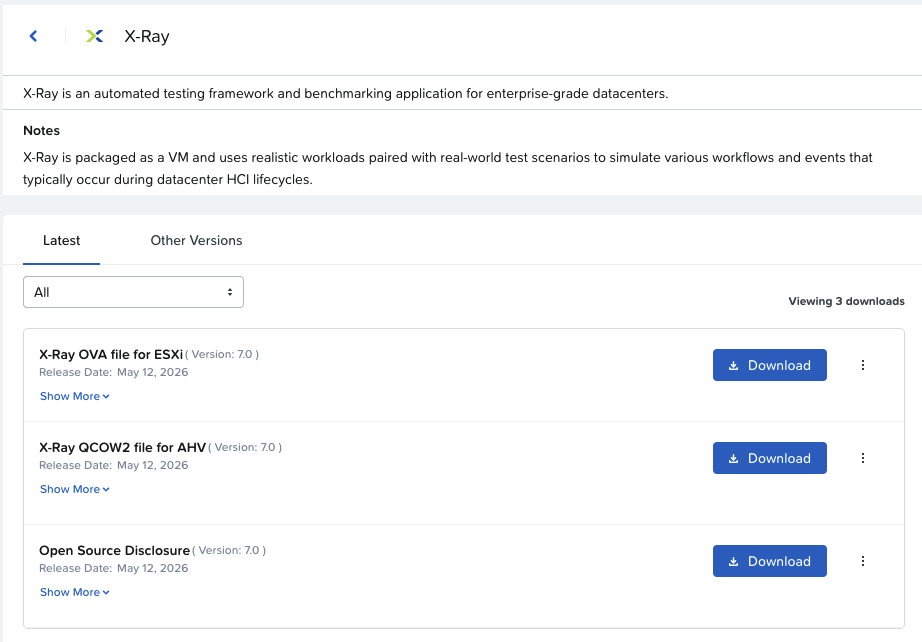
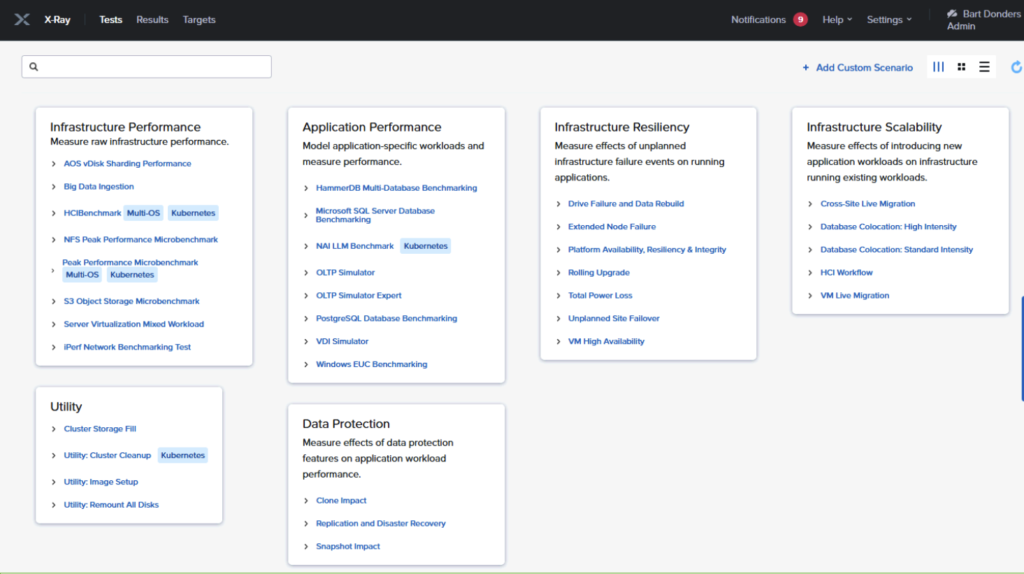
X-Ray is a free, automated testing and benchmarking framework for hyperconverged infrastructure, delivered as a downloadable virtual appliance you run on a utility node kept separate from the cluster under test. Its distinction is philosophical as much as technical: instead of asking “how fast is this cluster?”, X-Ray holds the performance of an application as the control and treats the infrastructure itself as the variable, then measures what real-world events do to that application. So the questions it answers are the ones that actually keep you up at night — what happens to my workloads when a node fails, when snapshots pile up, when a noisy neighbour saturates storage, or when a rolling upgrade is underway? Its built-in scenarios span four broad areas: Infrastructure Performance, Application Performance, Infrastructure Resiliency, and Data Protection, simulating everything from OLTP and VDI boot storms to drive failures and disaster-recovery failover.
What makes the current release, X-Ray 7.0, worth a fresh look is that the tool has outgrown the storage-and-compute box. Alongside the established HCI resiliency and performance tests, 7.0 adds an LLM benchmarking scenario that measures large-language-model performance on Nutanix Agentic AI (NAI) clusters — using datasets like IFEval, HumanEval, and DeepSearchQA to reflect chatbot, code-generation, and agentic workloads — turning X-Ray into a way to validate AI inference infrastructure, not just databases and desktops. The release also brings MS-SQL Server benchmarking against Windows VMs through HammerDB, volume group load balancing to spread vDisk ownership across all controller VMs during a test, and a round of UI improvements.
In this series of blogs I’ll walk through deployment of the X-ray virtual appliance, what X-Ray actually does, and talk about some scenario-based tests. Although LLM Benchmarking is included in X-Ray at the moment, I will skip that scenario as I don’t have the luxury for testing those at the moment.
Deploying X-Ray
X-Ray ships as a virtual appliance, so deployment is mostly a matter of importing an image and pointing it at the cluster you want to test. The cardinal rule comes first: never deploy X-Ray on the cluster you intend to test, and don’t host Prism Central on the target either. Because X-Ray deliberately powers off nodes and saturates storage, running it on the target would distort every result. Put it on a separate utility node or management cluster.
Pick your image. For AHV, Nutanix provides a QCOW2 image, which you download from the Nutanix Support portal. As mentioned before, X-Ray is a free tool. There is no need to login into the support portal.
Deploy the appliance
In Prism, upload the QCOW2 via Image Configuration. When done, create a VM around it with 8 vCPU and 16 GB RAM (16 vCPU and 32 GB if you plan to run VDI scenarios), booting in legacy BIOS.
Add the second NIC manually so the appliance can reach the workload VMs over zero-config networking — the second NIC picks up the zero-config settings automatically when you add it.
Sort out networking
X-Ray needs to reach every component under test — Prism, the hosts, CVMs, IPMI, and the worker VMs it spins up — over a layer-2 network. The cleanest setup is DHCP with enough addresses for all the test VMs.
If DHCP isn’t available, X-Ray falls back to zero-configuration (link-local) addressing in the 169.254.0.0/16 range; here the appliance’s first NIC (eth0) carries routable traffic while the second (eth1) handles zero-config communication with the workload VMs on the same layer-2 segment.
Test VMs try DHCP first and only self-assign if it fails.
Connect and create a target
Browse to the X-Ray VM’s IP address, accept the EULA, and log in.
Then open the Targets dashboard, add a target, and supply the Prism manager details, followed by the cluster, container, and network. Run the optional (but strongly recommended) validation step before you launch anything; if validation fails, the tests will fail too.
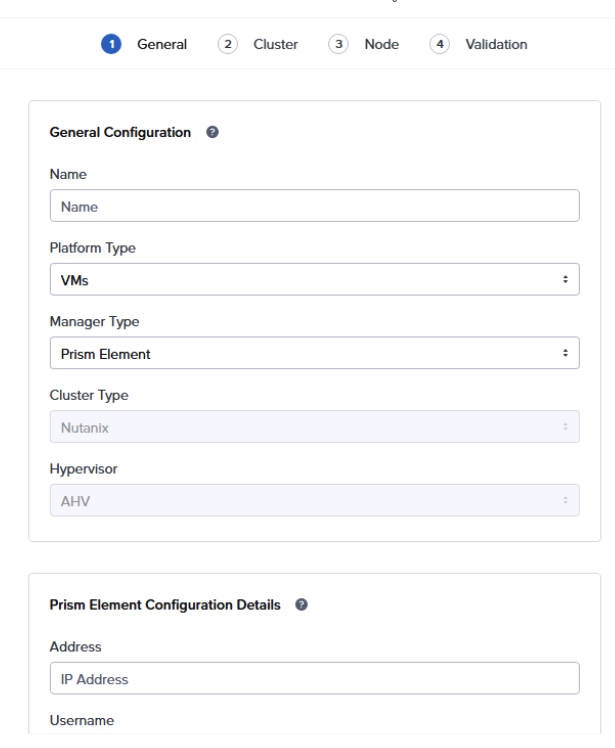
Enable out-of-band management
Resiliency tests that power nodes off rely on IPMI, iDRAC, or Redfish. For AHV you add the OOB protocols manually during the target discovery process; where discovery isn’t supported (for example on Cisco UCS), configure the IPMI access policy as described in the guide, or enter the OOB credentials by hand during target creation.
X-Ray is using ICMP and port 443 for testing and validation of OOB. Check your firewall before
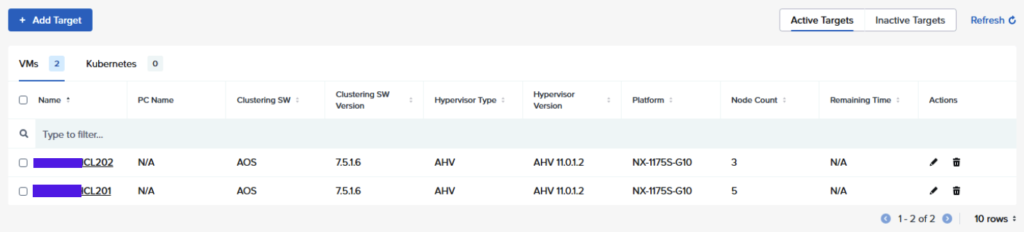
When done creating targets, you see them in the overview.
When the targets are created, we can run some tests. That will be topic of the next blogpost.
Leave a Reply