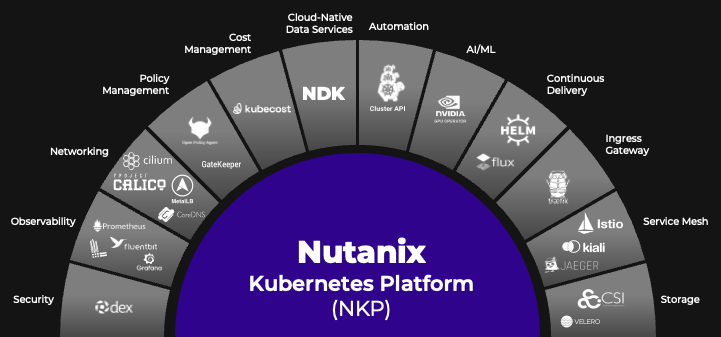
Information about Nutanix Kubernetes Platform (Part 5 of many)
Now we know how to deploy NKP, we have to make sure it is accessible in a safe way.. How to manage Access Control within NKP?
Identity Providers
As with many solutions, you want to use external identity providers to provide authentication. In my opinion, it is best practise to manage identities centrally, and use that for authentication for different purposes. Ypu can use as many identity providers as you want.
NKP supports multiple identity providers.
- Guthub Identity Provider
- LDAP connector
- SAML
- OIDC identity providers such as Google
Configuring a dedicated identity provider per workspace can be useful if you want to manage access to your workspaces separately. In this case, users will have a dedicated 2-factor authentication login page with identity provider options configured for their assigned workspace. This setup is particularly helpful if you have multiple tenants.
More information about Identity Providers and NKP, see the documentation of NKP.
Advantages of Using an External Identity Provider
Using an external identity provider is beneficial for:
- Centralized management of multiple users and multiple clusters.
- Centralized management of password rotation, expiration, and so on.
- Support of 2-factor-authentication methods for increased security.
- Separate storage of user credentials.
Access Limitations
- The GitHub provider allows you to specify any organizations and teams that are eligible for access.
- The LDAP provider allows you to configure search filters for either users or groups.
- The OIDC provider cannot limit users based on identity.
- The SAML provider allows users to log in using a single sign-on (SSO).
Configuring an identity provider
The procedure to add an (global) identity provider using the UI is shown in this post. It is also possible to create an identity provider using CLI (and a YAML manifest. For this procedure, use the IDP Connector Manifest example in steps 1 and 2 of the Onboarding a User to an NKP Cluster section of the Nutanix Kubernetes Platform Guide.
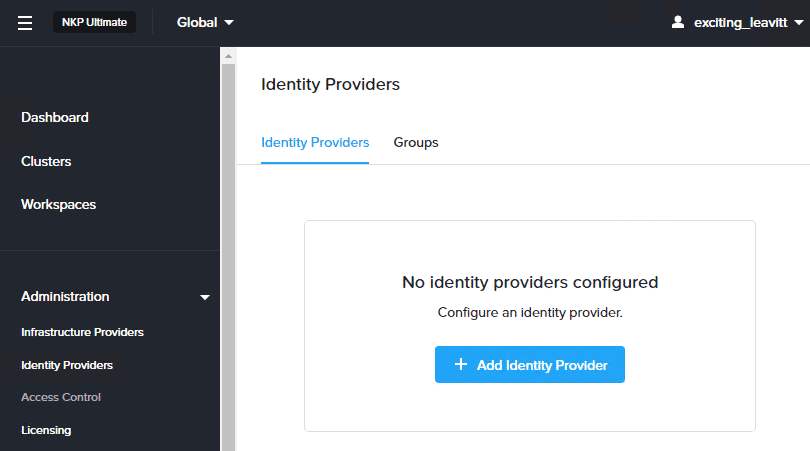
To configure an identity provider, select Global from the workspace drop-down menu, and select Identity Providers from the left pane. Then, click + Add Identity Providers.
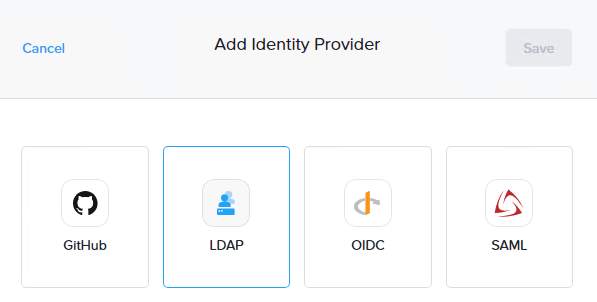
On the ‘Add Identity Provider’ page, you can select the desired authentication method.NKP is leveraging Dex, which acts as a portal to other identity providers through connectors.
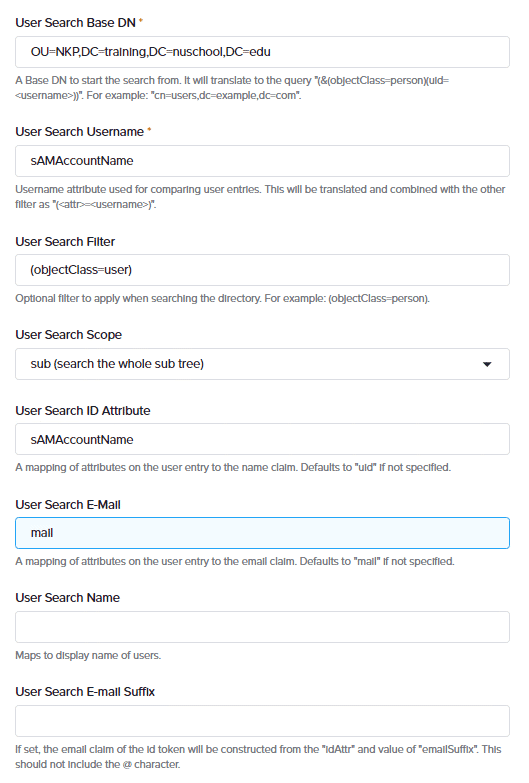
To configure LDAP for all workspaces within NKP, select ‘All Workspaces’ from the dropdown list. For LDAP authentication, enter a name, host URL, bind DN, and password. Bind credentials are used to search users and groups in the LDAP server. The Root CA will be used for TLS validation.
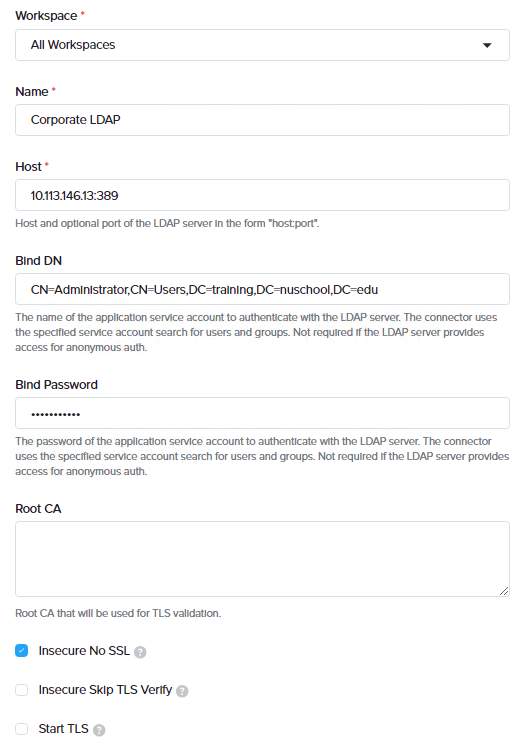
If no Root CA is used, select insecure No SSL. You cxan use this for testing environments. It is not recommended for production environments. after adding the LDAP provider, you can add User search and group search attributes.
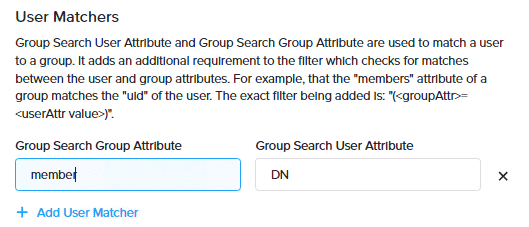
Next step is to select the Group search queries for groups radio button to add group search queries for groups

Optionally, enter the group search group and group search user attributes that will be used to check matches between the user and group attributes.
Finally, click Save to add the identity provider.
Creating groups in NKP
Groups within NKP are used to grant access to Users or groups, defined within your identity provider. First, to create a group that consists of one or more users, select Global from the workspace drop-down menu, and select Identity Providers from the left pane. On the Identity Providers page, click + Create Group.

On the Create Group window, enter a name. Then, in the Identity Provider Users section, click + Add User to define users from identity providers for this group. Note that in this example we have added a single user, but multiple users can be added if required. After you have added your users, click Save.

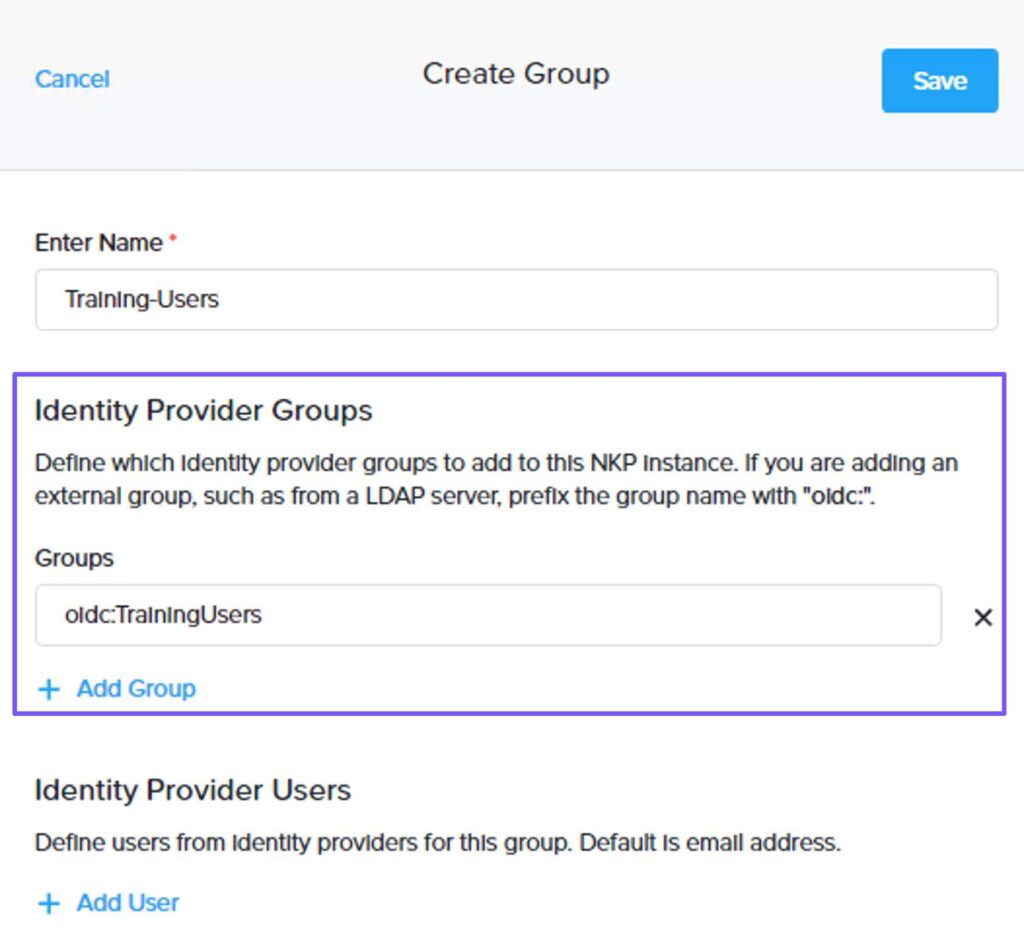
To create an NKP group that consists of one or more identity provider groups, on the Identity Providers page, click + Create Group. In the Create Group window, enter a name. In the Identity Provider Groups section, click + Add Group. Enter the name of the identity provider group pre-fixed with “oidc” and click Save as shown in the figure below.
Disabling an Identity Provider
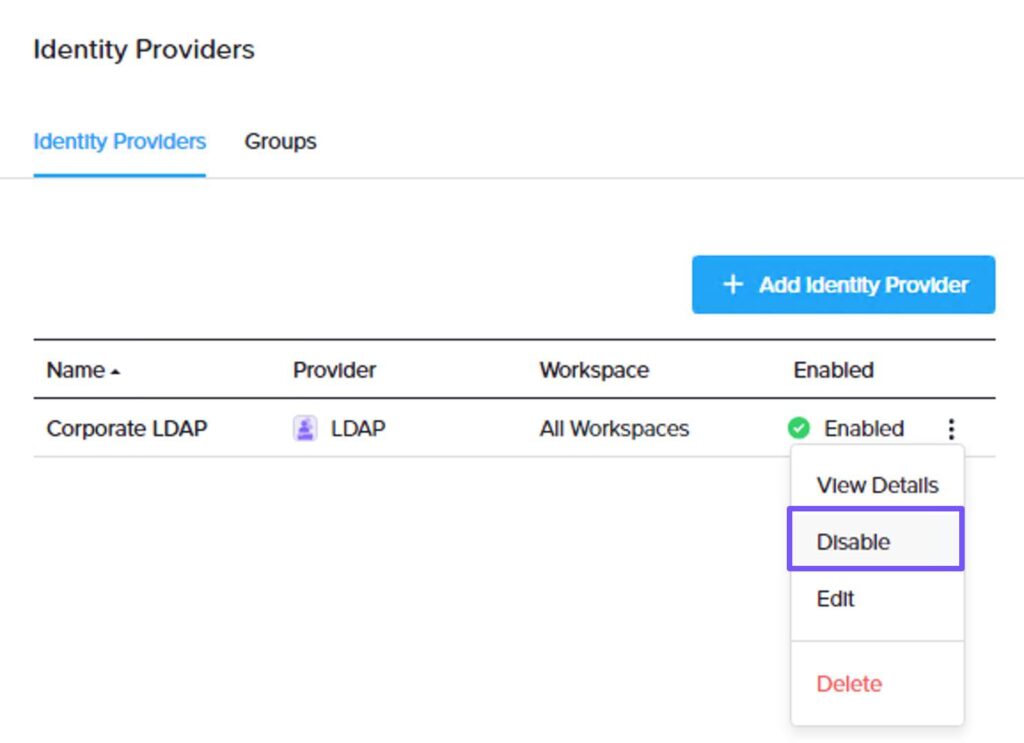
To temporarily disable an identity provider, on the workspace dashboard, select Identity Providers from the left pane. Then, click the ellipses for the identity provider you want to disable and select Disable, as shown in the adjacent figure.
Next Post: Understanding Access Control
Leave a Reply